Are you dealing with a deflated air mattress? If your air mattress is losing air, it could be because of a hole in the mattress. In this article, we’ll show you how to quickly find a hole in your air mattress and patch it up. We’ll provide you with the right tools and materials to get the job done fast, so you can get back to enjoying your air mattress.
What is an Air Mattress and What Causes a Hole or Leak?

An air mattress is an inflatable mattress, usually made from vinyl or other durable materials such as fabric-coated polyester or PVC, that can be filled with air to provide a comfortable sleeping surface. It is commonly used for camping trips, guest beds, and other temporary sleeping arrangements.
A hole or leak in an air mattress can be caused by a number of factors. These may include sharp objects such as nails or screws, contact with a rough surface, and even normal wear and tear over time. In some cases, a mattress may not be properly sealed when it is first inflated, resulting in air leaking out and causing a hole or leak.
How to Patch an Air Mattress
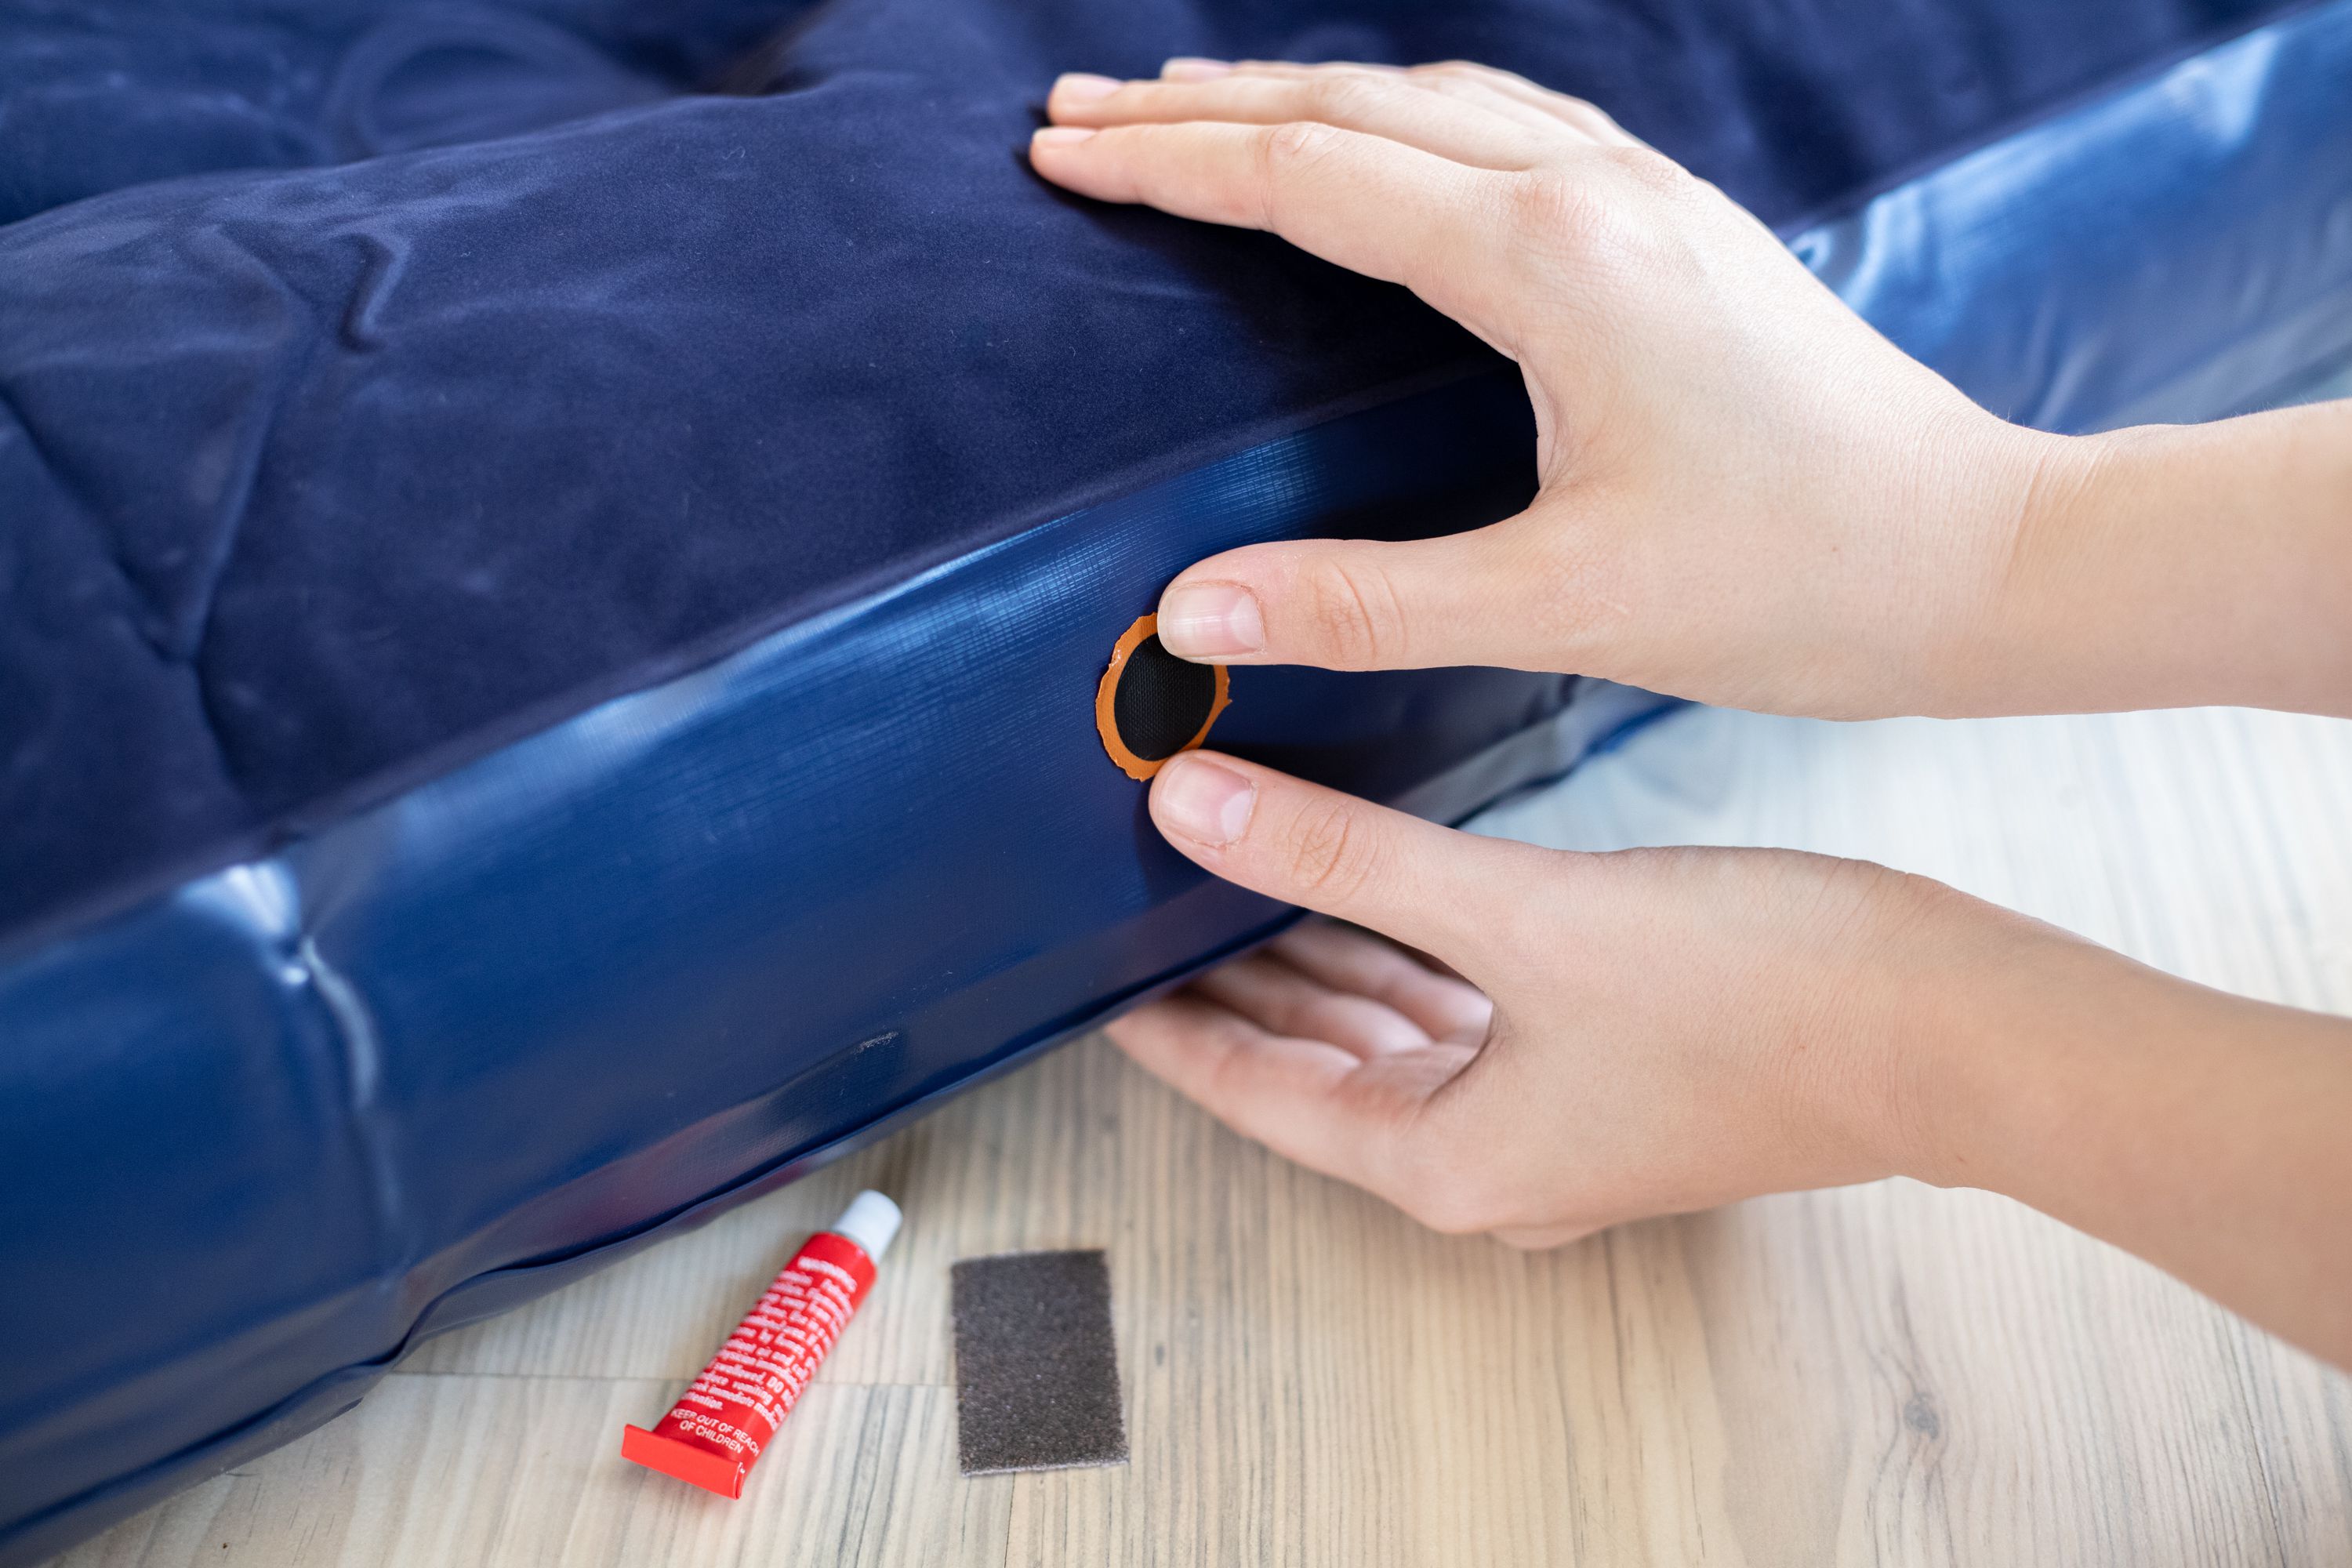
The best way to patch an air mattress is to use a repair kit that is designed for the specific material of the mattress. These kits typically include a patch and an adhesive, and instructions on how to properly patch the air mattress. Once the patch is in place, allow it to dry for several hours before using the mattress.
How to Quickly Find a Hole in Your Air Mattress

Visual Inspection
When an air mattress has a leak, it can be difficult to find the source. The best way to start is to visually inspect the mattress for signs of damage. Look for any rips, tears, or punctures in the fabric. Pay close attention to the seams and corners, where the material might be weaker. If you find any potential holes, mark them with a piece of tape.
Audible Detection
Another way to locate a leak in an air mattress is to listen for it. Put your ear close to the mattress and listen for a hissing sound. If you can hear air escaping, then you know that you have a leak.
Soapy Water Test
The most reliable way to identify a leak in an air mattress is to use the soapy water test. Take a bowl of soapy water and lightly brush it over the mattress. If you see bubbles forming, then you know you have a leak. Mark the area with a piece of tape and move on to the next step.
How to Patch an Air Mattress

With a Patch Kit
Step 1: Locate the hole in your air mattress. This can be done by running your hand over the surface of the mattress. You may also be able to hear the air escaping.
Step 2: Make sure the surface around the hole is clean and dry. Clean the area with a damp cloth and then let it dry completely.
Step 3: Peel off the backing from the patch and apply it over the hole. Use a rolling pin to press it down firmly.
Step 4: Let the patch sit for 10-15 minutes before inflating the mattress.
Without a Patch Kit
Step 1: Locate the hole by running your hand over the surface of the mattress and listening for the sound of air escaping.
Step 2: Clean the area around the hole with a damp cloth and let it dry completely.
Step 3: Cut a piece of fabric that is larger than the hole and place it over the hole.
Step 4: Secure the fabric with duct tape or a hot glue gun.
Step 5: Let the patch sit for 10-15 minutes before inflating the mattress.
If you find a large hole in your air mattress, you may need to purchase a specialized patch kit. This kit will contain a patch and adhesive that is specifically designed for air mattresses. Follow the instructions on the patch kit to repair the hole.
How to Plug an Air Mattress Hole

Step 1: Locate the hole in your air mattress. You can use a flashlight to help you spot it.
Step 2: Clean the area around the hole and make sure that it’s dry.
Step 3: Cut out a piece of patch material that is slightly larger than the hole.
Step 4: Apply the patch material to the hole, making sure that it is securely adhered.
Step 5: Use a hairdryer to heat the patch material until it melts and forms a seal.
Step 6: Allow the patch to cool and dry for at least 30 minutes before inflating the air mattress.
Step 7: Test the patch by inflating the air mattress and checking for leaks. If there are any, repeat the steps until the hole is completely sealed.
How to Find a Slow Leak in an Air Mattress

If your air mattress is slowly leaking air, you may be having trouble finding the source of the leak. There are a few steps you can take to find the slow leak and patch it up.
Submerging the Mattress
Fill a bathtub or large container with warm water, and submerge the entire mattress in it. Check the mattress for bubbles coming from any area that could be the source of the leak.
Inspecting the Mattress
Once you have located the area of the leak, inspect that area for damage. Look for any holes, tears, or worn out patches. If you find any damage, you can use a patch to repair the leak.
Using a Soap Solution
If you do not find any visible damage, you can make a soap solution by mixing a few drops of soap with some warm water. Spray the solution onto the mattress and watch for any bubbles forming. This will help you identify the exact spot of the slow leak.
Patching the Mattress
Once you have identified the spot of the slow leak, you can patch it up. If you do not have a patch, you can use a cloth and rubber cement to create a makeshift patch. Just make sure to clean the area of the leak before applying the patch.
How to Patch an Air Mattress Without a Patch
If you do not have a patch, you can use a cloth and rubber cement to create a makeshift patch. Clean the area of the leak, then cut a piece of cloth slightly larger than the hole. Apply a thin layer of rubber cement to the spot of the leak and attach the cloth patch. Let the cement dry before using the mattress.
By taking these steps, you should be able to easily locate and patch a slow leak in your air mattress.
Alternatives to Patches
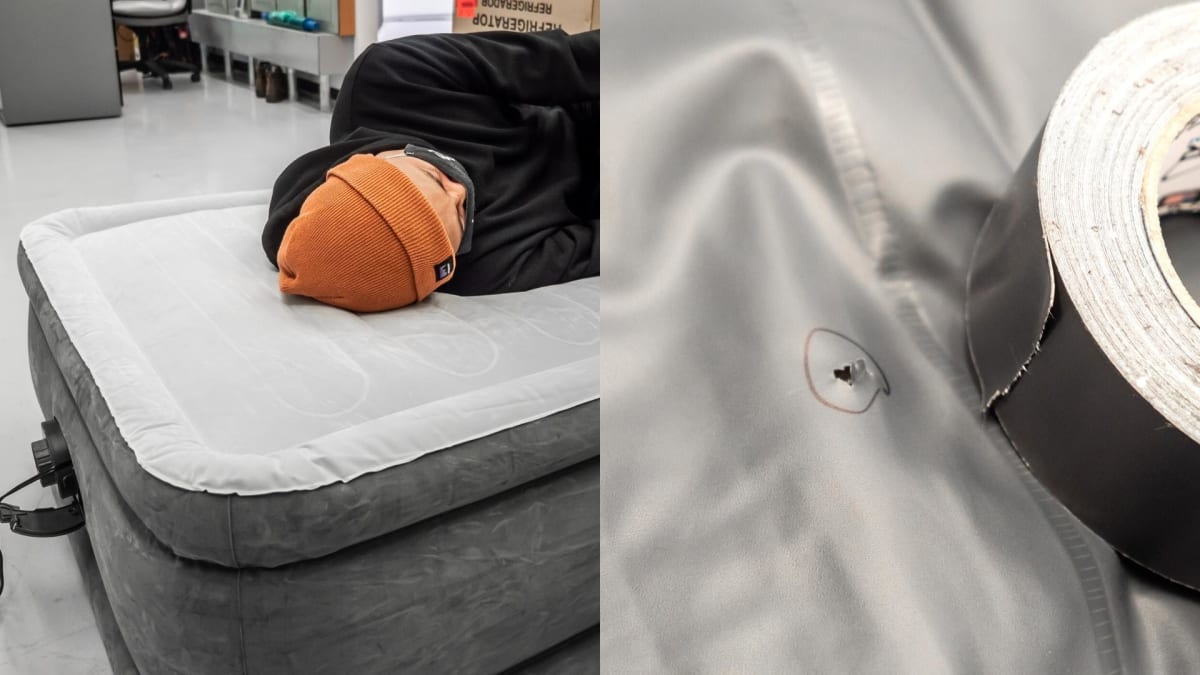
If you don’t have a patch or don’t want to use one, there are a few alternatives that can be used to repair a hole in an air mattress. One of the quickest and simplest solutions is to use a piece of duct tape. Make sure the duct tape covers the entire hole and has a good seal. Another alternative is to use a tire patch kit, which can be found at any auto parts store. Simply follow the instructions provided in the patch kit to seal the hole. You can also use a bike tire patch kit, which is designed for repairing bicycle tires. Just be sure to follow the instructions provided in the kit to ensure that the patch adheres properly and creates a good seal. Finally, if you don’t have any of these materials, you can use a piece of rubber or plastic. Cut a piece slightly larger than the hole and use a strong adhesive to attach it to the mattress. This should create a good seal and help keep the air inside the mattress. With any of these methods, it’s important to make sure that the patch is strong, secure, and airtight to ensure that your air mattress stays inflated.
Frequently Asked Questions
What Materials Do I Need to Patch Up a Hole in My Air Mattress?
Sealant and Patch Kit – You will need a sealant and a patch kit designed specifically for air mattresses. This will ensure a secure and airtight seal.
Scissors or Knife – To cut away the damaged area of the mattress and prepare it for patching.
Sandpaper or Emery Cloth – To smooth out the edges of the patch before applying the sealant.
Rag – To clean the area before and after applying the patch.
How do I determine the size of the hole in my air mattress?
- Inspect the Mattress – Take a close look at the mattress while it is fully inflated. Look for any signs of air leakage, such as small bubbles or bulges in the surface of the mattress.
- Feel the Mattress – Run your hand over the surface of the mattress. Feel for any areas that are softer than the rest, which could indicate a hole.
- Listen for Air Leakage – Place your ear close to the mattress and listen for any escaping air, which can indicate a hole.
- Inflate a Balloon – Inflate a balloon and press it against the mattress. If there is a hole, the balloon will move away from the mattress.
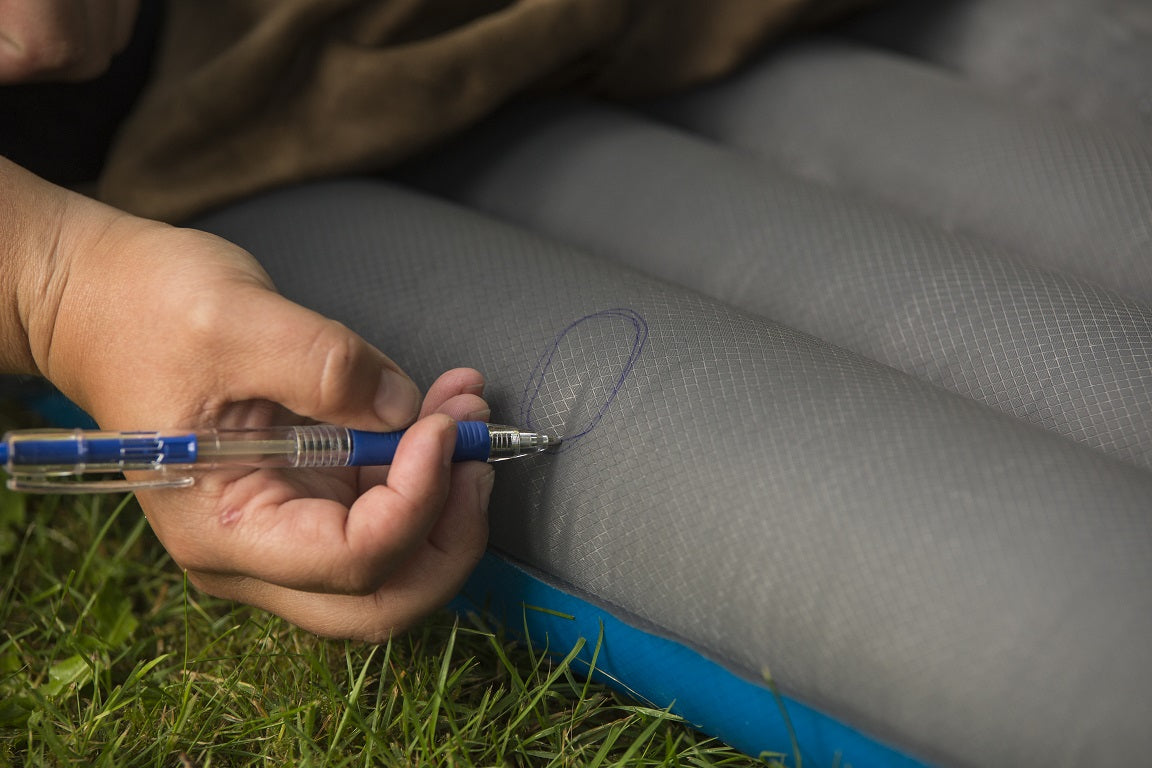
- Mark the Spot – Once you have found the hole, mark the spot with a marker so you can easily find it when you are ready to patch it.
- Measure the Hole – Using a ruler, measure the size of the hole. This will help you find the right patch to repair the mattress.
What is the Best Way to Patch Up a Hole in My Air Mattress?
- Locate the Hole: Carefully inspect the surface of the air mattress for small holes or punctures. If the hole is located in an area without a lot of surface area, it can be tricky to spot. Try running your hands over the surface to feel for any changes in the fabric.
- Clean the Area: Once the hole is located, clean the surface of the mattress with a damp cloth. This will help prepare the surface for patching.
- Apply the Patch: If the mattress came with a repair patch, use it to cover the hole. If not, use a strong adhesive fabric patch or duct tape. Place the patch over the hole and press down firmly to ensure it sticks.
- Test the Repair: Carefully inflate the mattress and test the repair by pressing down on the patch. If the patch is leaking, apply another patch or a thicker layer of duct tape.
How often should I check my air mattress for holes?
Weekly: Check your air mattress at least once a week. Pay attention to areas where the mattress may be under strain, such as the seams, folds, and valves.
Before Use: Before each use, inflate your air mattress and carefully inspect it for any signs of damage.
After Use: After each use, deflate the mattress and check for any punctures, tears, or leaks.
Seasonal: Twice a year, inspect your air mattress for any signs of wear and tear. This should be done at the start and end of the camping season.
Annually: Replace your air mattress at least once a year, even if it appears to be in good condition. This will ensure its optimal performance.
Is it Possible to Patch Up a Large Tear in My Air Mattress?
Yes, it is possible to patch up a large tear in an air mattress. Here are the steps you need to take:
- Clean the area around the tear with a damp cloth.
- Cut a piece of air mattress patch kit material larger than the tear.
- Remove the adhesive backing from the patch kit material and press it firmly onto the mattress.
- Allow the patch to cure for the recommended time stated on the patch kit packaging.
- Check that the patch is firmly attached and that the tear has been sealed.
If the patch does not adhere properly, you may need to use a stronger adhesive like a rubber cement. If the tear is too large to patch, you may need to replace the air mattress.
Conclusion
Finding and patching a hole in your air mattress can be done quickly and easily with the right supplies and a bit of patience. Make sure you check your mattress for holes regularly and patch them up as soon as you spot them. This will help you extend the life of your mattress and get the most out of your investment.


